Results 1 to 13 of 13

Thread: Time-sert how to

  1. #1
    Registered User
    Name:

    britincali's Avatar
    Join Date
    Mar 2005
    Location
    Barstow, CA
    Posts
    2,409
    Like
    0
    Liked 0 Times in 0 Posts

    Time-sert how to

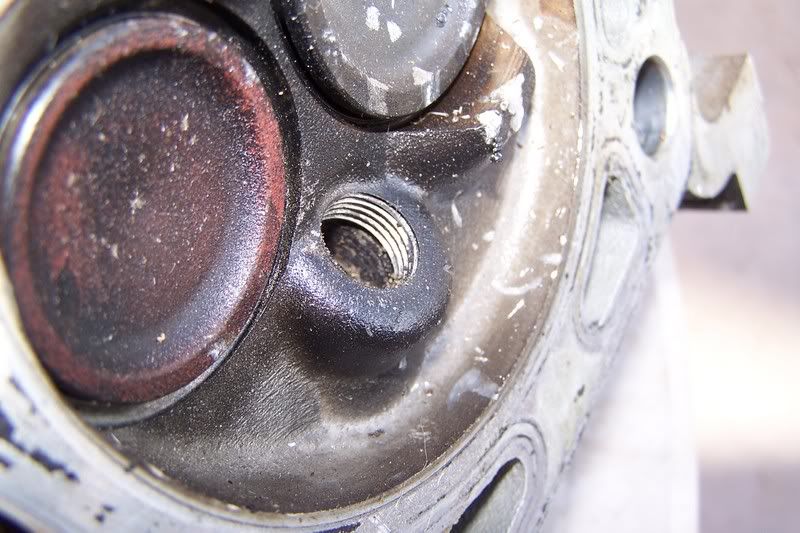
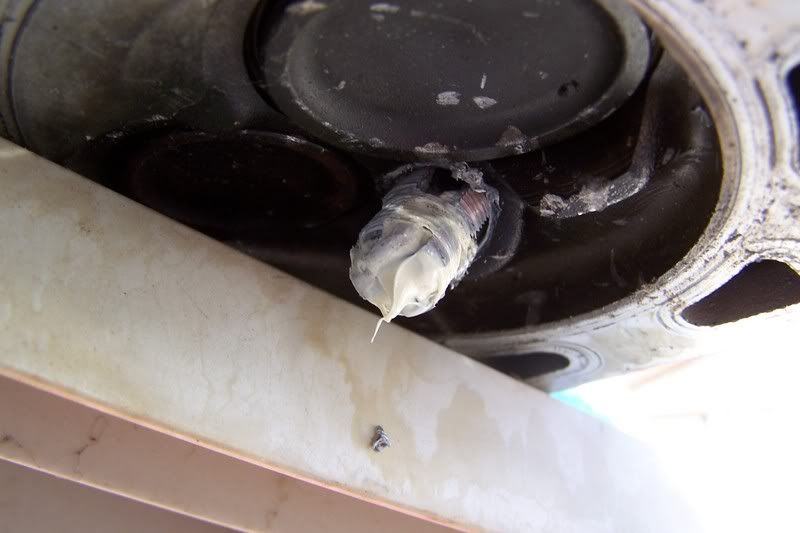
    I launched the 3rd plug back on the pass side last week and decided instead of waiting 2 weeks for ford to fix it I was just going to put an insert in.

    I got the info for the kit here :- http://www.timesert.com/html/howtosp.html

    And ordered it here :- http://www.threadkits.com/

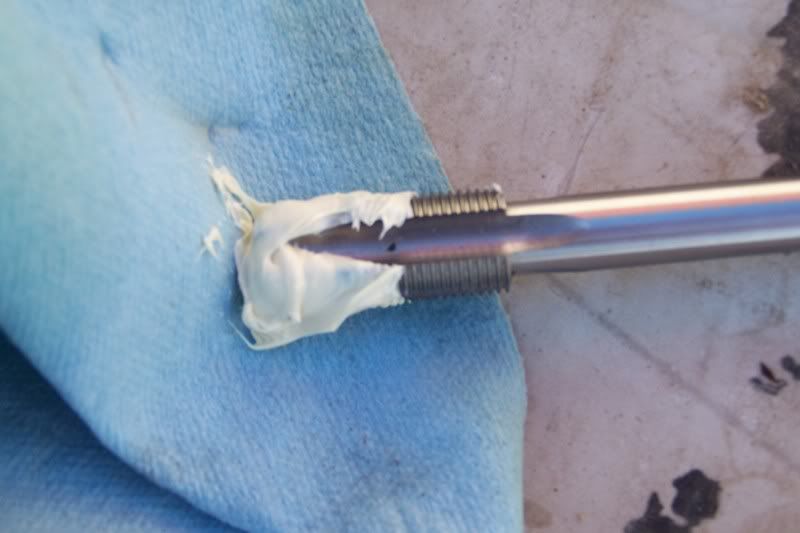
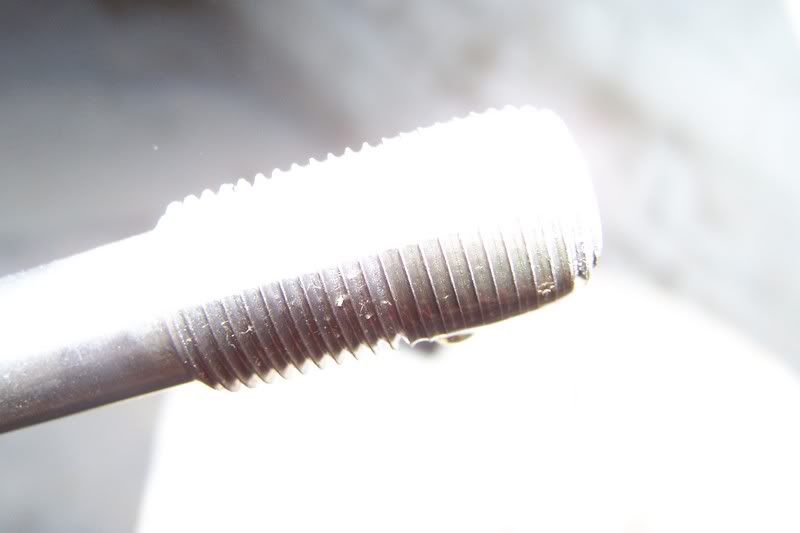
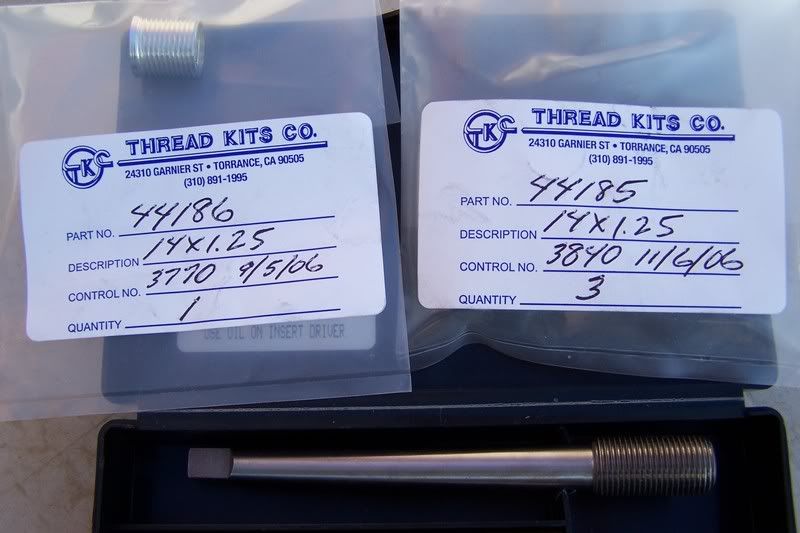
    I got kit # 4412e with insert #s 44185 and 44186, one is slightly longer than the other and I was told by different people to use different ones so I just ordered both! It turns out 44186 was pretty much perfect and 44185 as a little short. Total cost came to just under $150 shipped.

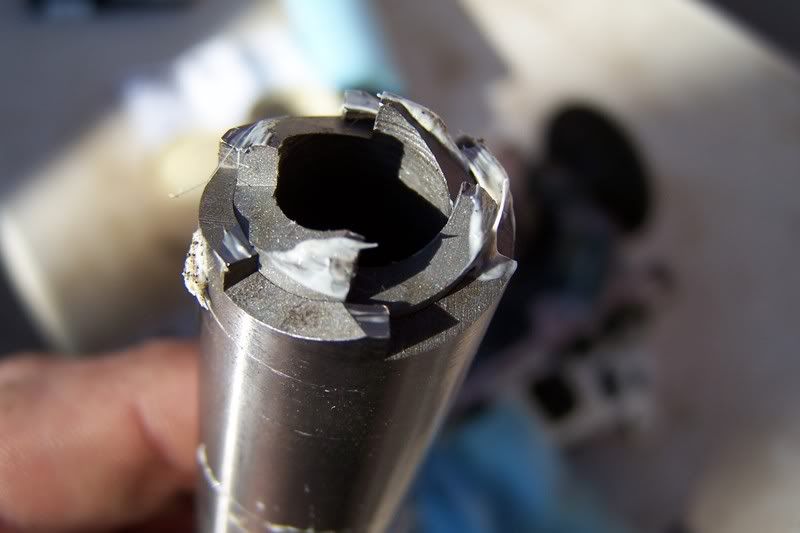
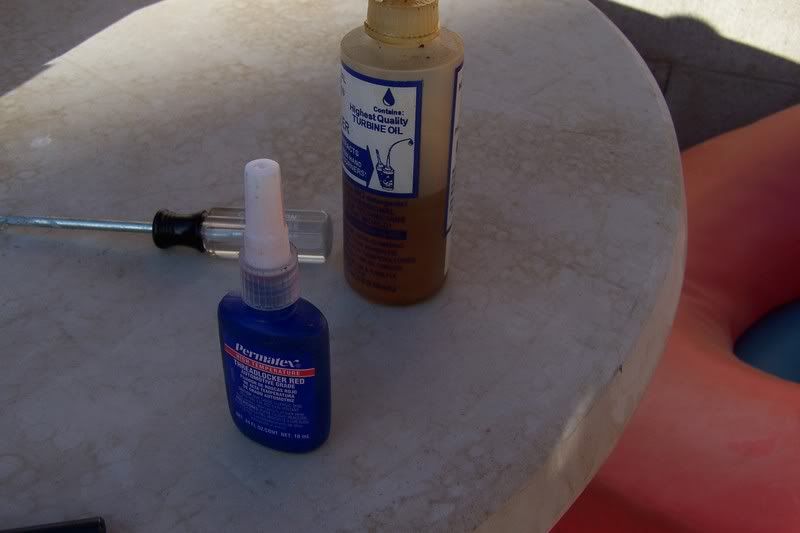
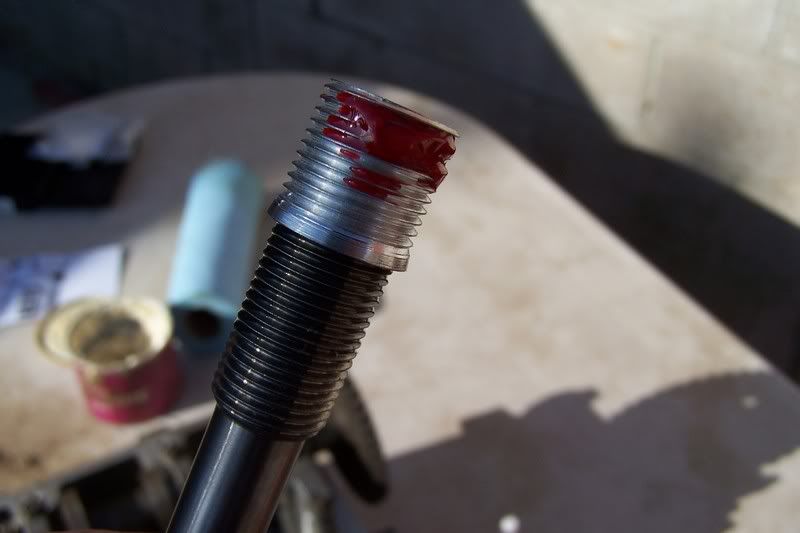
    Heres is part of the kit and the inserts :-


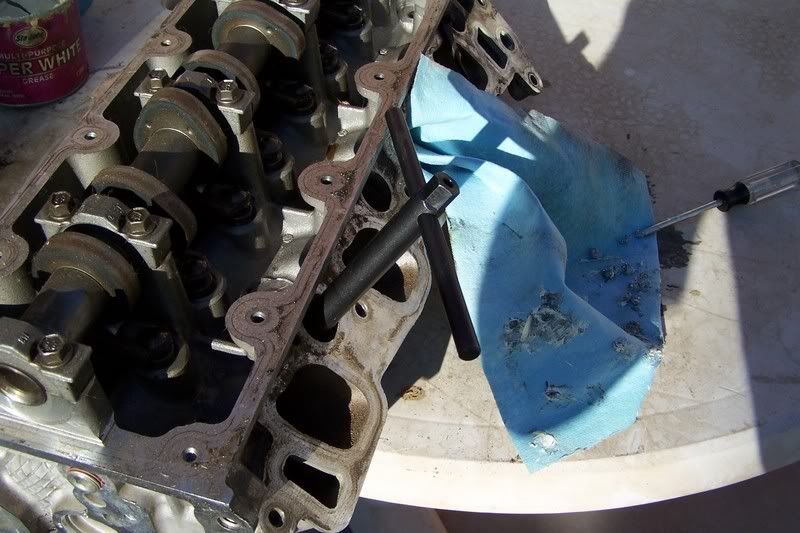
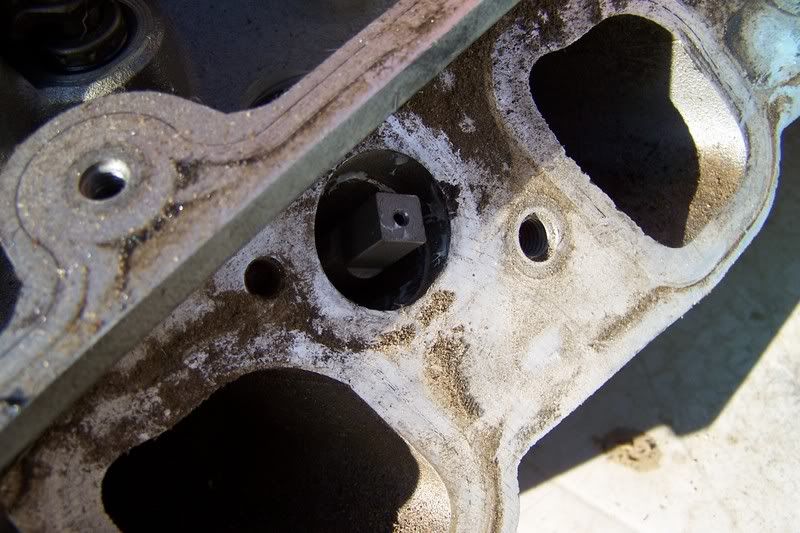
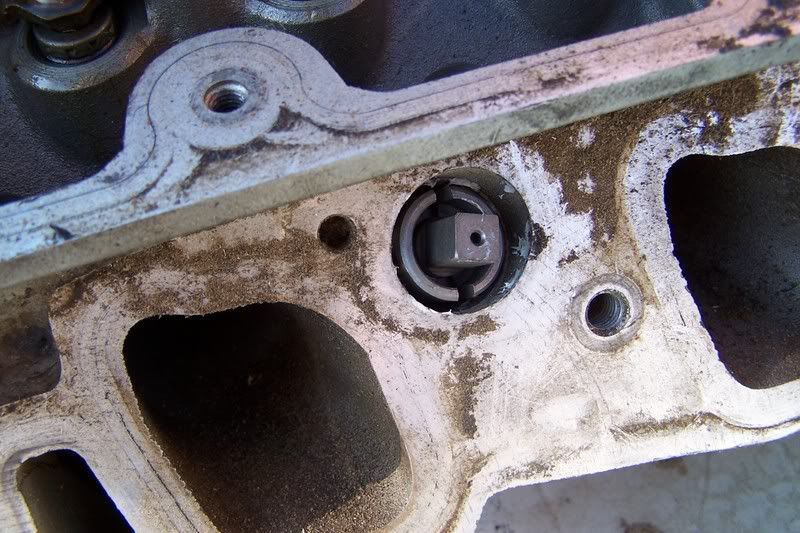
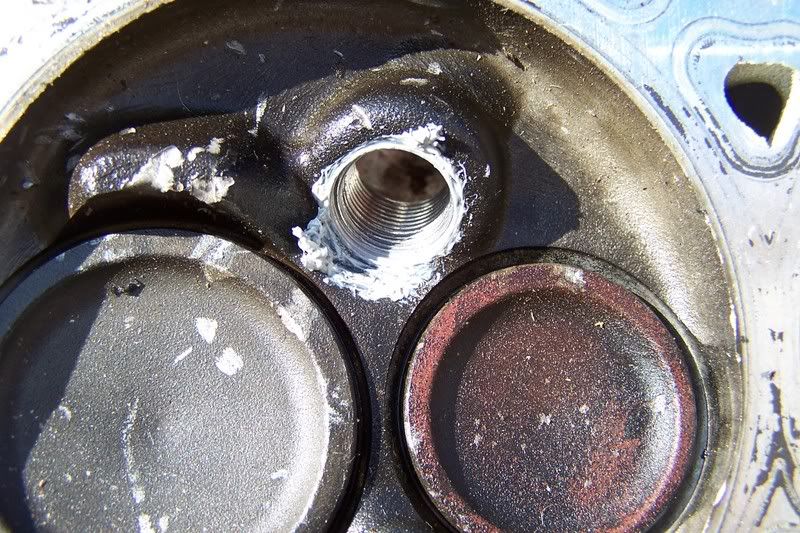
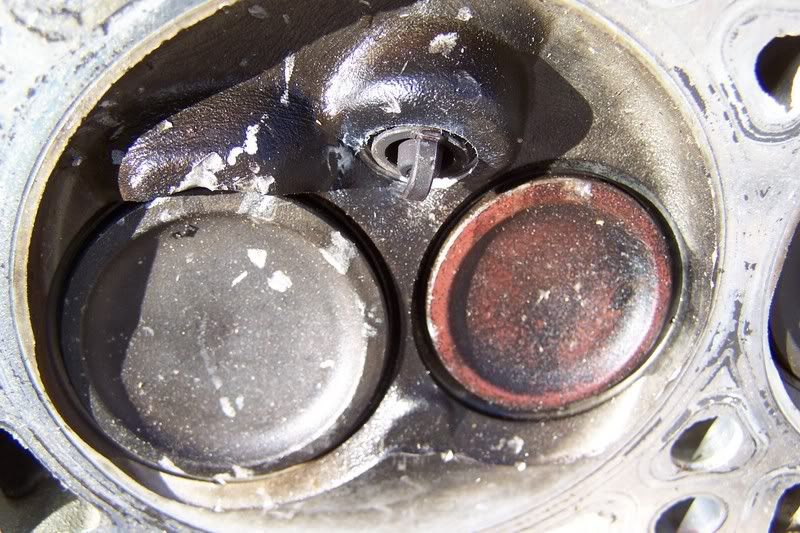
    I used an old head from a blown motor so I could get some decent pics and some practice before I tried it on my baby.

  2. #2
    Registered User
    Name:

    britincali's Avatar
    Join Date
    Mar 2005
    Location
    Barstow, CA
    Posts
    2,409
    Like
    0
    Liked 0 Times in 0 Posts
    Here is the reason for all the problems in the beginning, what was ford thinking???


    4.5 measly alloy threads!


    First librally coat the tap flutes in grease to catch all the shavings...


    Then insert into stripped plug hole...


    Add the extension to the end and either use the supplied bar or if needed a 1/2 " socket and a swivel...


    Tap the hole, I did roughly 3 turns at a time, removing the tap and cleaning off the shaving inbetween the flutes...


    Continue until the tap is almost flush with the head...


    Underside...


    After the tap is all done cutting and little resistance is felt its time to cut a new seat for the plug using this tool supplied in the kit...


    With the tap in place slide the seat cutter over it....


    And cut away, I did roughly 4 full turns I could have done more but didnt want to go overboard and screw something up..
    Last edited by britincali; 11-23-2006 at 02:43 PM.

  3. #3
    Registered User
    Name:

    britincali's Avatar
    Join Date
    Mar 2005
    Location
    Barstow, CA
    Posts
    2,409
    Like
    0
    Liked 0 Times in 0 Posts
    Now its time for the insert....


    Coat the end of the insert driver in oil...


    Then thread the insert onto the end and add threadlocker (I used red permatex hi-temp)


    Then thread in the insert, after 5 or so turns you will feel resistance as it cold forms the last 2 threads in the insert, continue untill there is no resistance and remove...


    I now have at least one cylinder with more than 4 threads!!!
    Last edited by britincali; 11-23-2006 at 02:44 PM.

  4. #4
    Registered User
    Name:

    britincali's Avatar
    Join Date
    Mar 2005
    Location
    Barstow, CA
    Posts
    2,409
    Like
    0
    Liked 0 Times in 0 Posts
    The job is a harder on the truck due to tight places and having to use extensions, it took me 20 mins with the head off being really careful and taking pics, and about 45 mins on the truck.


    I JB welded my coilpack back together and re-installed it.


    Doing this off the truck I noticed that if you do it slow and removing the tap and cleaning repeatedly no shavings drop into the cylinder, I just re-installed the plug and coilpack and she fired up. To do this perfectly I would use a shop vac with some small hose duck taped to the end and vacuume out the cyl.

    She fire right away and after 10-15 second of missing ( Im thinking grease got in the cyl) she cleared right up and running 100%.


    IMO this is a way better fix than replacing the head with the same 4 thread one that came off (and thats what ford does they dont even upgrade you to the newer ones when under warranty)
    Last edited by britincali; 11-23-2006 at 02:50 PM.

  5. #5
    Registered User
    Name:

    britincali's Avatar
    Join Date
    Mar 2005
    Location
    Barstow, CA
    Posts
    2,409
    Like
    0
    Liked 0 Times in 0 Posts
    Here is the finished product, I purposely overtorqued the plug to see if the insert would spin or strip, I leaned on it way harder than I ever would on the motor and it was all good.

    Last edited by britincali; 11-24-2006 at 11:18 AM.

  6. #6
    Moderator
    Charter Member
    Name:

    fepony's Avatar
    Join Date
    Feb 2003
    Posts
    7,789
    Like
    0
    Liked 0 Times in 0 Posts
    Looks like the plug is indexed pretty well too. Did you do that on purpose?

  7. #7
    Registered User
    Name:

    britincali's Avatar
    Join Date
    Mar 2005
    Location
    Barstow, CA
    Posts
    2,409
    Like
    0
    Liked 0 Times in 0 Posts
    Quote Originally Posted by fepony
    Looks like the plug is indexed pretty well too. Did you do that on purpose?

    Nope just happened that way, happy thanksgiving fep!

  8. #8
    Gotta Get There
    Name:

    HDSouthCali's Avatar
    Join Date
    Feb 2006
    Location
    Cerritos, CA
    Posts
    695
    Like
    0
    Liked 0 Times in 0 Posts
    nice write-up.... glad you got her up and running again...

  9. #9
    Registered User
    Name: Rich

    tpr103's Avatar
    Join Date
    Apr 2004
    Location
    nj
    Posts
    3,325
    Like
    12
    Liked 47 Times in 34 Posts
    its about time somebody did on H/T on this!!

  10. #10
    Registered User
    Name:

    Dbl G's Avatar
    Join Date
    May 2004
    Posts
    13,758
    Like
    0
    Liked 0 Times in 0 Posts
    Great Job Chris, One may add that you should before the thread lock sets. Index your plug this a perfect time.
    Indexing is making sure the open gap is facing center of the cylinder such as in Chris awesome photos above.
    I also recommend removing the head. This is a pain however it does lessen (100%) the chance of having a shaving or two fall into the chamber.
    What would that do?
    It will melt and stick to the piston top and create a hot spot,,,not good at all.

  11. #11
    Registered User
    Name:

    britincali's Avatar
    Join Date
    Mar 2005
    Location
    Barstow, CA
    Posts
    2,409
    Like
    0
    Liked 0 Times in 0 Posts
    Quote Originally Posted by Dbl G
    the chance of having a shaving or two fall into the chamber.
    What would that do?
    It will melt and stick to the piston top and create a hot spot,,,not good at all.
    Or migrate to the cylinder wall, catch on the ring, and then smear all over the piston and barrel worst case scenario melting a piston.

    Im hoping any shavings I may have had went straight out the exhaust valve!

  12. #12
    Registered User
    Name:

    Tazz's Avatar
    Join Date
    Feb 2003
    Location
    KS
    Posts
    3,954
    Like
    0
    Liked 1 Time in 1 Post
    Quote Originally Posted by fepony
    Looks like the plug is indexed pretty well too. Did you do that on purpose?
    OK indexing when doing time serts seems really easy.
    ? can indexing be done on a traditional head when on/ off the engine?
    Guess they can. I wasn't sure with the tapered seats.
    Tazz
    Last edited by Tazz; 01-25-2007 at 09:26 PM.

  13. #13
    Registered User
    Name:

    Dbl G's Avatar
    Join Date
    May 2004
    Posts
    13,758
    Like
    0
    Liked 0 Times in 0 Posts
    http://store.summitracing.com/egnsea...12&D=%2D113312

    http://store.summitracing.com/egnsea...40&D=%2D113040

    Yes one can index with the heads on, simply mark the location of the electrode on the top side of the plug and add washers until it lines up centered..
    Last edited by Dbl G; 01-25-2007 at 09:36 PM.

Posting Permissions

  • You may not post new threads
  • You may not post replies
  • You may not post attachments
  • You may not edit your posts
  •