-
Another member of the BOC
Name:

-
5150 4 Life

Name: Keith

Real nice job

Aloha and be safe
Keith & Sherry

-
-
"Shadow the Hedgehog"
Name:

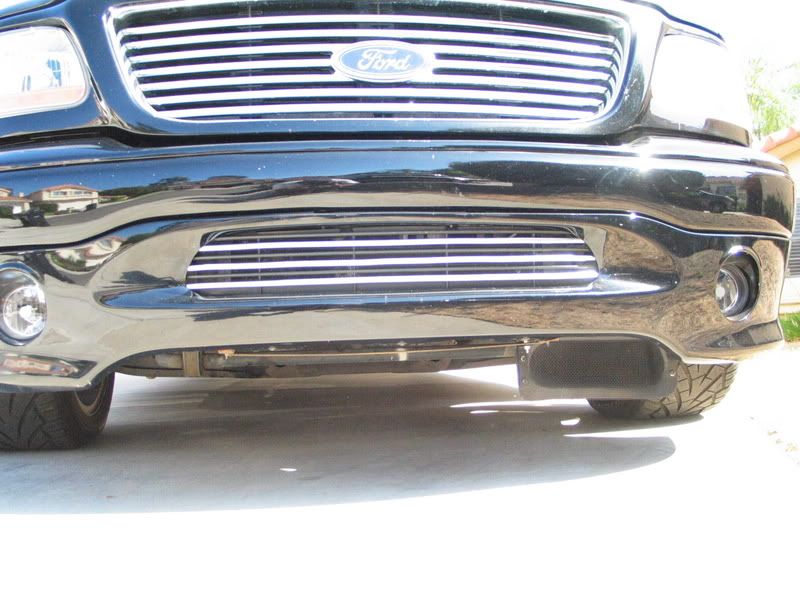
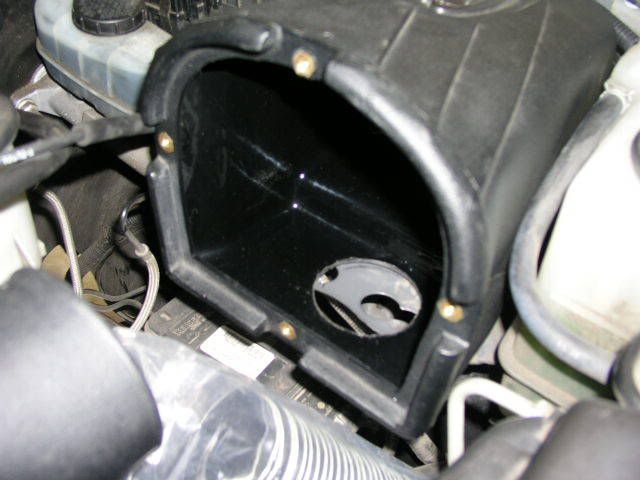
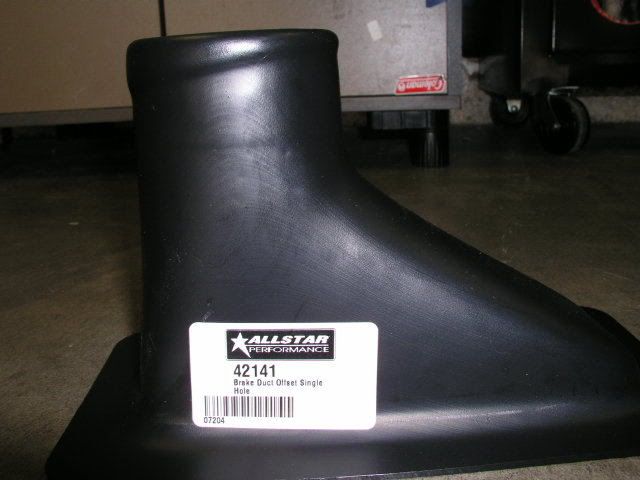
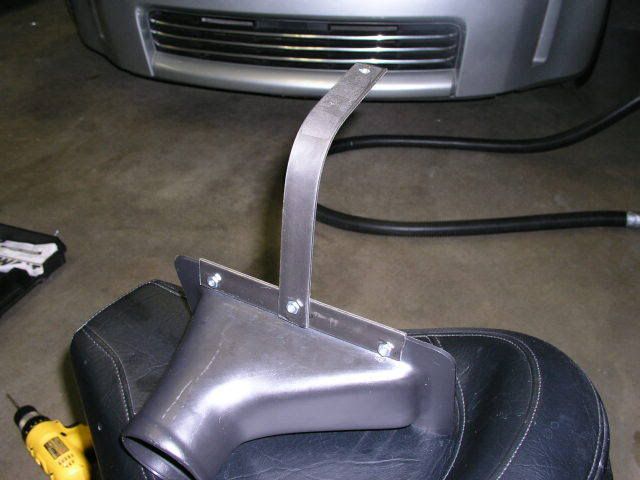
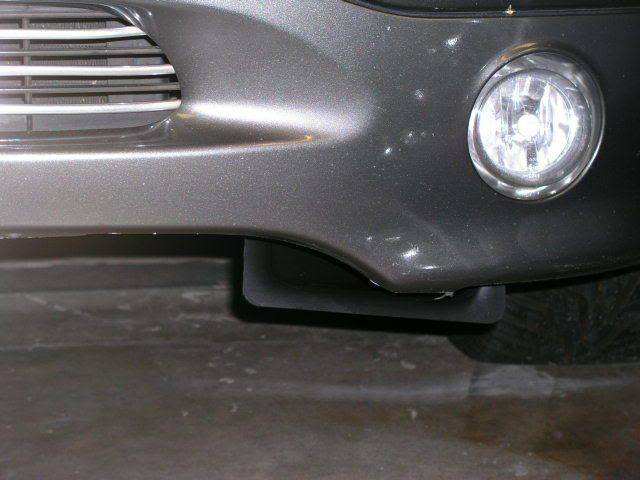
cool "cooler" improvement  ,I am not digging where the scoop sits at
-
-
4Sale in the classifieds
Name:

You have been busy Grey!!
How-to sticky??!!
I do agree with Hoffmann though, Maybe move towards the center of the valance? Maybe cut an angle in the scoop to match the angle of the valance where it dips down? Unless of course, the there are no other mounting options for the bracket!!
-
-
ResFirma Mitescere Nescit
Name: stew

-
-
Registered User
Name: Dave
Nice Jesus, Im impressed!!! Mounts right where the JLP does, I think it looks fine...but better on an 03 valence....hehehe.
-
-
Registered User
Name:

good job jesus! looks clean!
I agree with c dillon and hoffman, would be cooler in the center. I have the JLP and I hate the way it looks.
Also, from a page in Kromdom's 9 plug book, i got some wire mesh, sprayed it black, and covered the scoop. No frogs jumping in my intake!
-
-
Registered User
Name: Dave
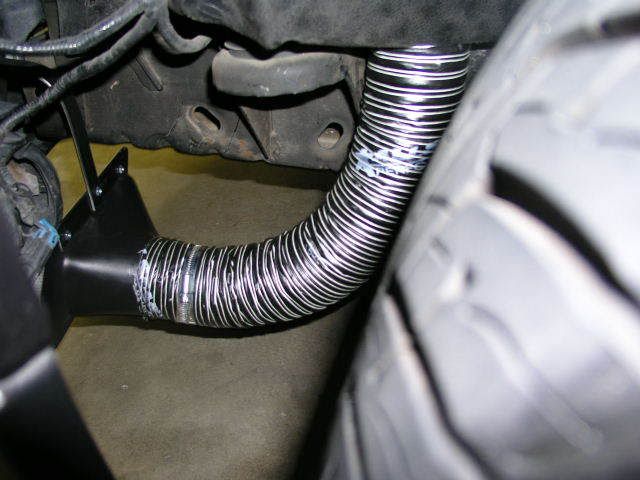
Rman,
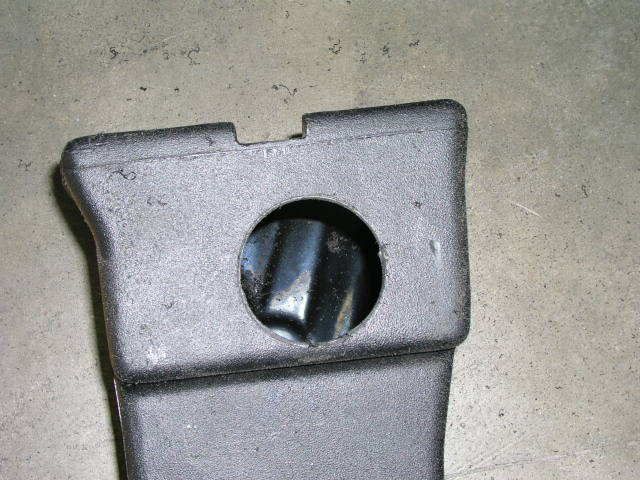
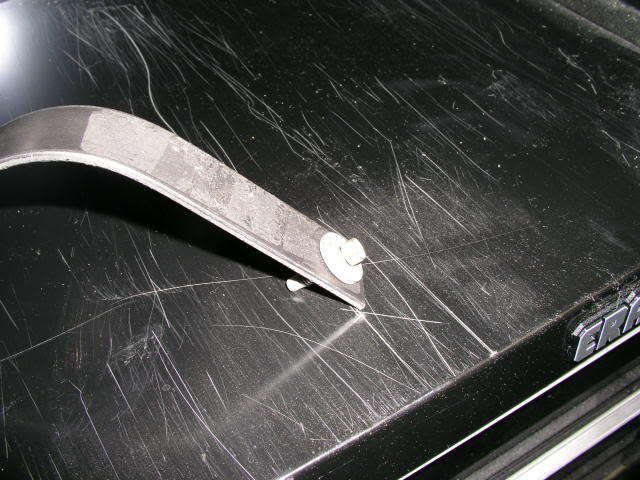
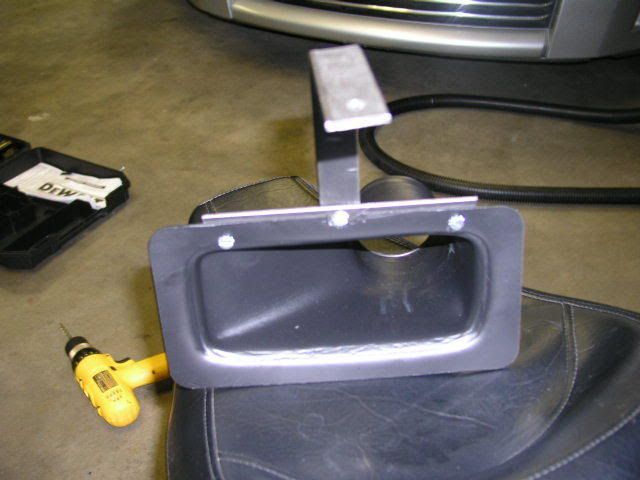
you can put the bracket on the lower bolts on that scoop to bring it up higher. It doesnt need to hang down that low.
[IMG]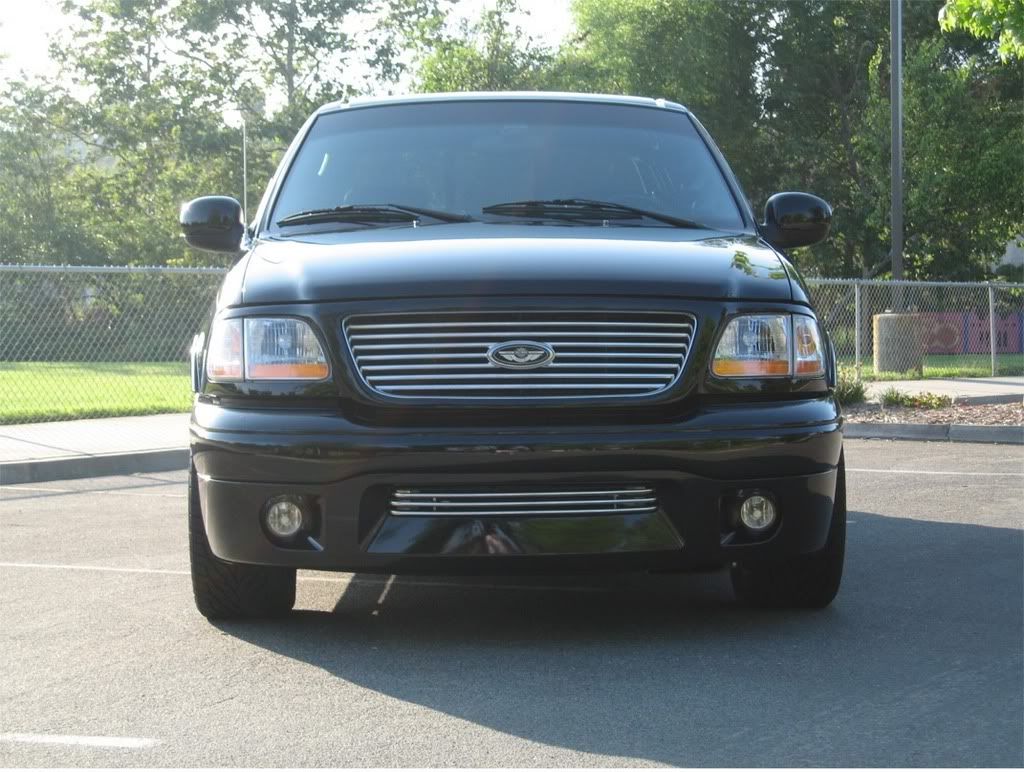 [/IMG]
-
-
Registered User
Name:
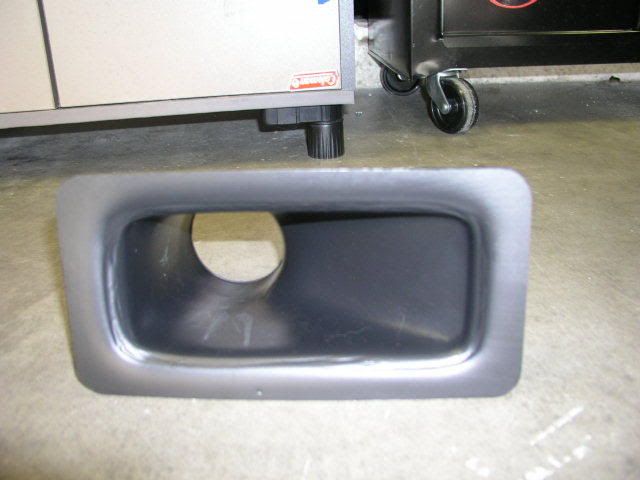
thanks dave, i never thought of that. When I get the chance I'll do that and trim the flanges off the scoop as well.
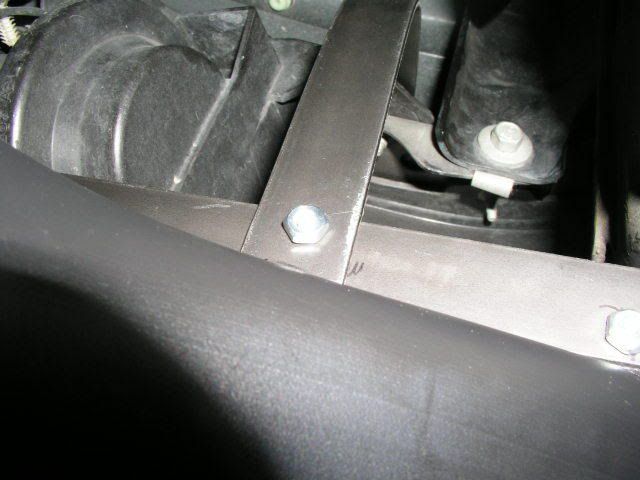
I had a little difficulty installing mine, as the bracket to the foglight didn't really line up with anything. I ended up drilling a hole in my foglight bracket to accept the JLP bracket. Maybe it's different b/c it's from a L, or maybe my truck is weird. Or maybe it's me.
I noticed also the fog light brackets in the pictures in the instructions were completely different from the fog brackets on my harley. Hmm.....
-
-
Who Dat is
Name:

nice "how to" . sdharley, yours has the flanges trimmed off, looks alot better ( less visual profile).
-
-
Registered User
Name: Dave
Thanks huot. Oh yeah I forgot about the trimming. Very easy to do with a box cutter. I also had to trim about 2 inches off of the left side in order to install the LFP Heat Exchanger. I taped up around the side of the scoop with electrical tape to close it off and trimmed the flanges so it wasnt so noticeable.
-
-
Registered User
Name:

Cool! I still have a wide low profile Kenne Bell scoop from one of there ram-air kits..probably would work well...hmm...
-
-
553-558 14lbs
Name:

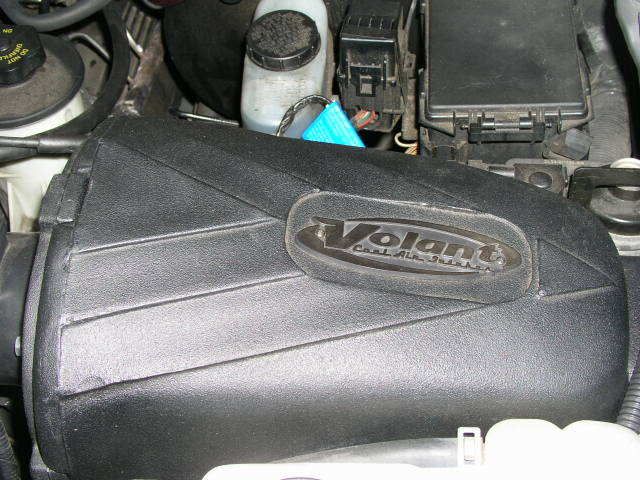
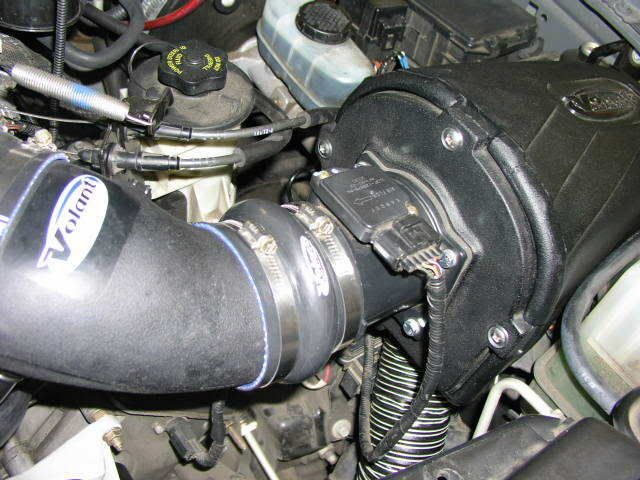
Nice Job!!! I wish the Volant intake was a little cheaper id buy it
-
-
Gotta Get There
Name:

good job jesus...
-
-
World's Fastest Street HD
Name: Josh

adding to the how-to index  nice job!
-
 Posting Permissions
- You may not post new threads
- You may not post replies
- You may not post attachments
- You may not edit your posts
-
Forum Rules


 Reply With Quote