rear sway bar is installed.. must say that the instructions suck.. but I really like it!!! Makes a heck of a difference


rear sway bar is installed.. must say that the instructions suck.. but I really like it!!! Makes a heck of a difference
can you throw some pics of the mounting brackets bolted to the frame? that would help me with my 03


Running out the door, but I will arrange and explain each pic in better detail in a few hours...some tips and tricks for ya. So bear w/ me...I will give an explanation above each picture, w/ any tips that I can remember.
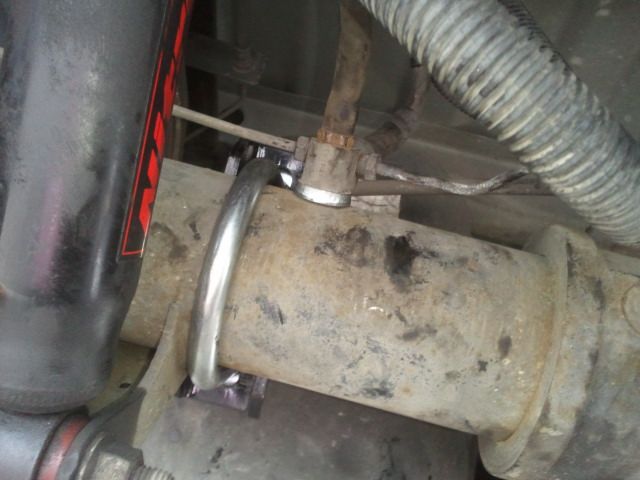
This is the spacer for the vent that is on the axle itself, which is on the drivers side. Apparently not all vehicles have this, but if you do, simply remove the rubber hose, undo this bolt, throw is the spacer, tighten it back down goot-an-tite then throw the rubber line back on there. Pay attention to where the U-bolt is, it'll show better on another pic as to why it's it that specific spot.
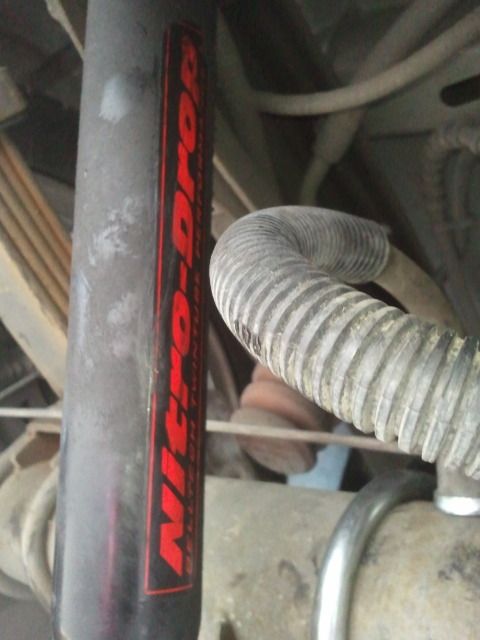
This is where I placed the U-bolt on the passengers side. I slid the U-bolt as far outboard as possible. I admittedly screwed up here during the initial installation as I was facing aft, slide the U-bolt over everything and had almost pinched the line...this is also when I discovered that there are two sets of U-bolts in the kit, large and small. Fortunately I didn't pinch the line because I had been putting the larger bolt on this side, so once I saw what I did, I swapped to the correct U-bolt and put the larger ones aside.
This picture is nothing more than a useless picture showing an even more the useless shocks that failed on me from the PO owners. Changing these alone made the truck ride way better.
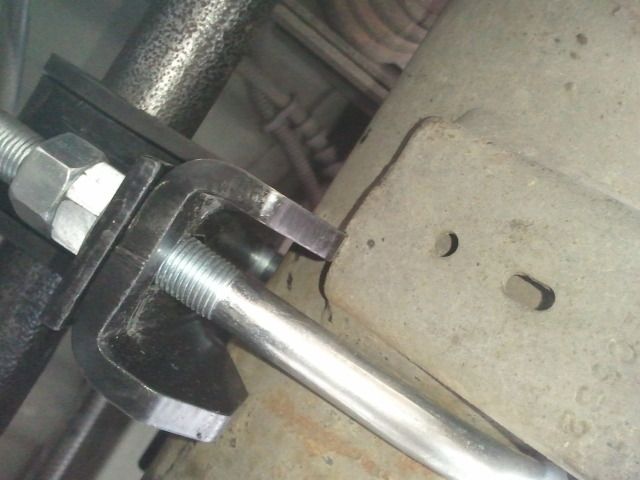
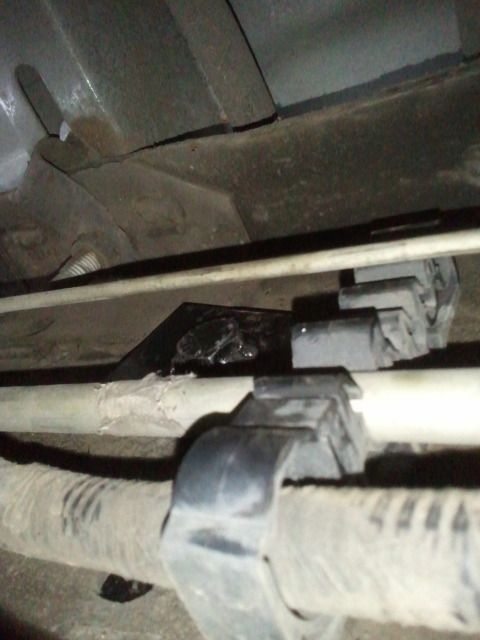
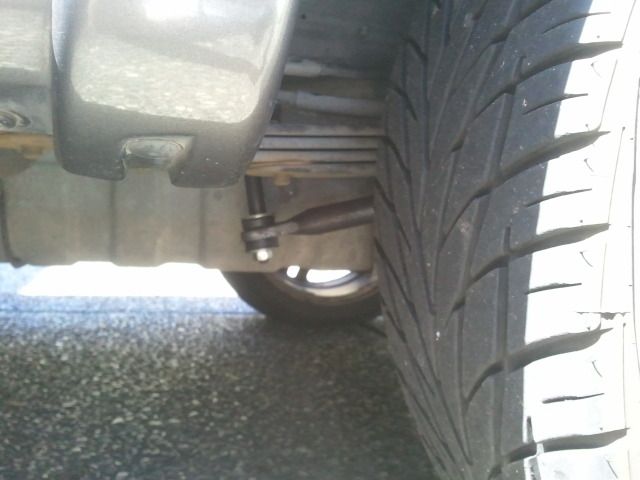
Back over to the drivers side...I chose this location for the U-bolt assembly as it had a perfect little notch for the assembly to rest on it, it was shown in the vague pic in the instructions, and having it resting on that notch also clocks the swaybar up high enough to clear everything between the bed and the sensor on the differential.
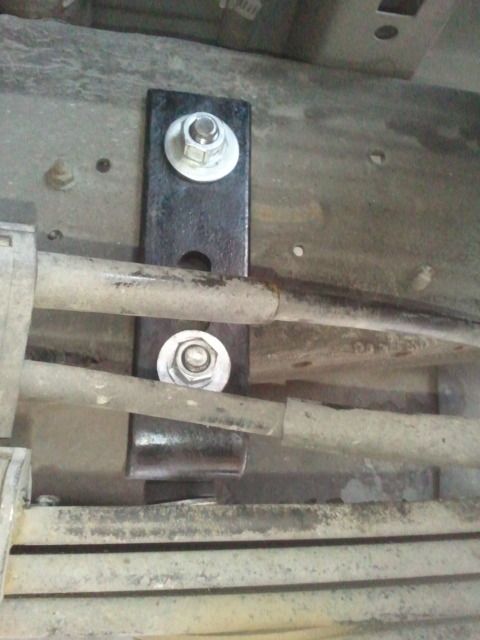
Hanger for the drivers side end-links. The picture shows the upper bolt on both sides as a head facing inboard, but I just don't see how that's possible w/ the hardware included. I used the black plates that have the short bolts welded to them in this installation. The black plates w/ the longer bolts, the one longer J-bolt and the longer spacers & bolts for the end-links I assume are for the FX4 installation, so I also set those aside.
Still on the drivers side only, I had to pop the brake line from it's plastic clip and wiggle the blackplate inside there and through the hole in the frame. A note of advice before installing either backplate...put the black plates on a bench and tighten the bolts to it once completely to clean off the paint so it's not so hard to install once your holding it w/ a wrench in the tight area.
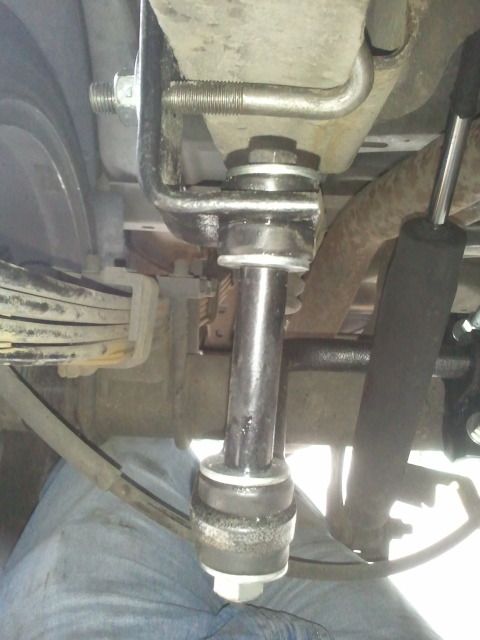
Drivers side bracket completed w/ the end links installed. Remember, only the short J-bolts get used throughout this entire installation, so just set aside the one long J-bolt and longer endlink hardware that comes in the kit.
This is the passengers side hanger for the end-link
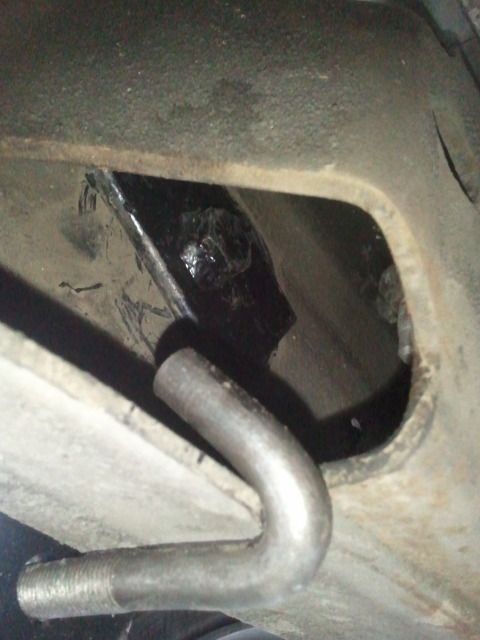
Looking inside the frame on the passenger side of the black plate that is bolted through the hanger for the end-link. This side was much easier to hold a wrench onto since there was no hardlines or a gas tank to get in my way.
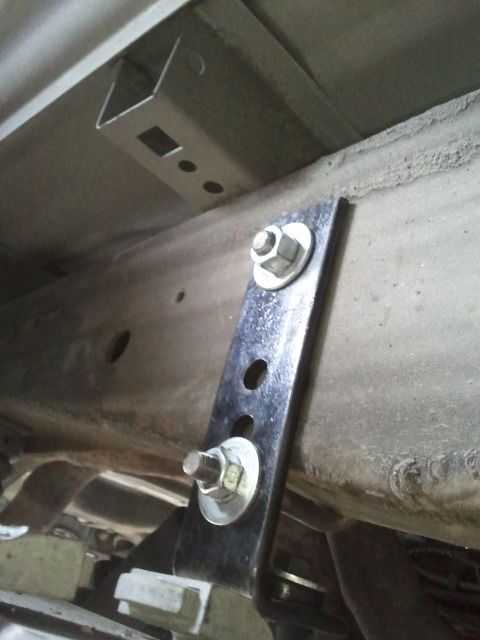
Outside the frame rail of the hanger for the passenger side end-link. Once again, I fail to see how the instruction show a bolt head facing inwards common to that upper bolt location.
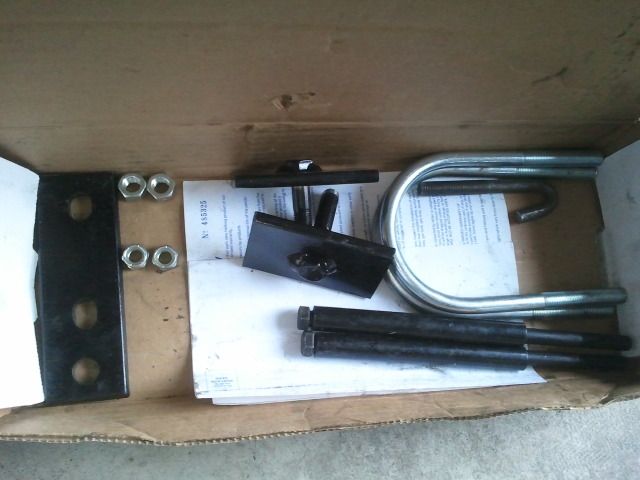
This is the remaining hardware left over after everything was said and done. The one blank plate, two black plates w/ longer bolts, one longer J-bolt, two larger diameter U-bolts, the pair of longer bolts & spacers for the end-links, a few normal nuts and two lock nuts are all that's left afterwards. I assume these lock nuts need to be installed on the bottom side of the end-link setup, but I'm going to recheck everything in a week.
Last edited by m5james; 07-17-2012 at 04:08 PM.
2002 HD F150 DSG #01235
Powertrain: Unknown tune, 6lb lower running 13-15lbs, TR5IX's @ .36, BA2400 MAF, deleted precats/Magnaflow postcats, K&N filter w/ heatshield, L&S separator, rebuilt 4R100 w/ shift kit. Plans - KB2.3, BA2400, 255's, TR6IX's, new tune!
Interior: Harley custom mats F&R, Glowshift 7 color LED boost gauge. Plans - 3M Di-NOC wrapped in graphite carbon fiber, LED conversion, sound deadener
Exterior: Debadged, N-Dure bedcover w/ hidden snaps, Escape foglights w/ 3M film, hidden hitch w/ flipdown license plate
Entertainment: BZ1370 deck, JL 10W3v2-D2 in rear console
Suspension:Hellwig 7626/7621 F&R swaybars w/ Lightning Bilstein shocks
thanks.. i see one place where i messed up.. I emailed hellwig that their instructions suck.
did you have any issues with some of the nuts?
Also where did you put the lock nuts?
I agree, they sucked terribly. The instructions got confusing in that it included extra parts for the FX4 install, which I discovered after I'd already started installing a U-bolt to the axle and noticed it was a wider overall diameter. The front instructions were nicer and seemed more up-to-date, but at the same time they lacked torque specs.
The only issue I had w/ any nuts was how tight they were on the black plates that I inserted through the frame. The bolt is welded to the plate, then being inside the frame made it very difficult to hold the nut, so I placed a flashlight on the tank then held a wrench on the bolt (inside the frame) just enough so that I could put a ratchet outside the frame and tighten the bolt down.
One of the pics has the extra parts leftover, two of those bolts are the locking nuts. As far as I remember and what makes the most sense is that those locking nuts should go on the bottom of the end links stackup, but if I remember correctly, they weren't the same thread. I'm going to drive the truck for a week and then recheck and retorque everything as the instructions say, and then I'll check to see if I'm correct of not as to if those locking nuts should be installed on the end links.
Everything has been edited, so if anyone sees something that I did completely wrong, chime in.
End-links for the Hellwig need to be shortened. Best to have leading-legs parallel to ground as close as possible. A lot of folks that have lowered the rear and use the Hellwig have simply used shock-snubbers/washers between the bar and the chassis rail. Most all rear anti-sway bars (including L bar) can be improved with adjustable end-links.
My truck isn't lowered at all...does it still need the end links shorted? I'll have to check later to see if the bar is sitting parallel w/ the ground, then install shorted bolts and trim the length of the sleeves as needed.

it doesn't look level in that photo, but the rear was probably up on jackstands at full sag anyways
2002 DSG HD #09617 NHTOC Truck of the month November 2012
Ported eaton/plenum/tb, 6lb lower, SCT BA-2600 MAF, OBX longtubes, JLP intake, FTVB, L-spec bilsteins, Hotchkis TVS, 22" replicas. Tuned by Ray McClelland of FTK
corrected my install.. many thanks for the pics!!! a picture is worth a 1000 words!
I did the whole install w/ the truck on driveup ramps w/ weight on the wheels as the instructions said to. The pics were taken laying on my back, so the angles could be deceiving. Once I goto lunch, I'll take another look.Originally Posted by Blind

What did you have to correct, and did you find a use for the lock nuts yet?
Is there any chance of selling the stock front swaybar, or do all F150's have them already anyways? Maybe it has more value coming off an HD ;)
missed the additional washers on the ends of the sway bar.. was a PITA to get them on.. no use for the lock nuts...
Just spoke to one of the engineers and he suggested that I cut down the spacer to bring the bar parallel with the ground..
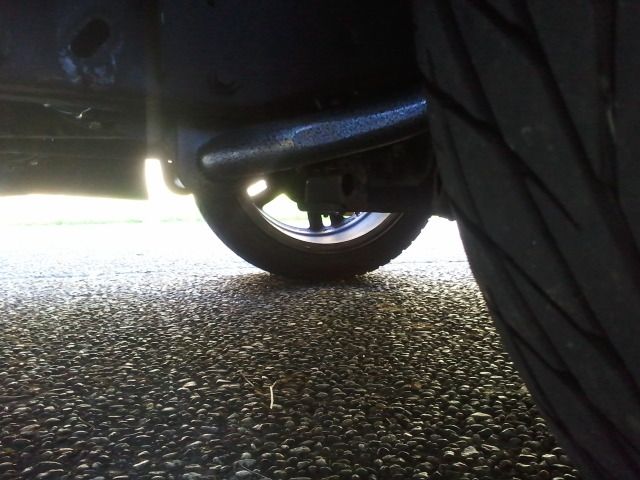
I'm not sure what shock-snubbers are, or why we'd want to use an adjustable end link...based on the pic below, the end of the sway bar should practically bolt directly up to the bracket that is bolted to the frame.
Also, what are my options in regards to shortening the front as well...does the same "level to the ground" rule apply there as well?
 Posting Permissions

 Reply With Quote